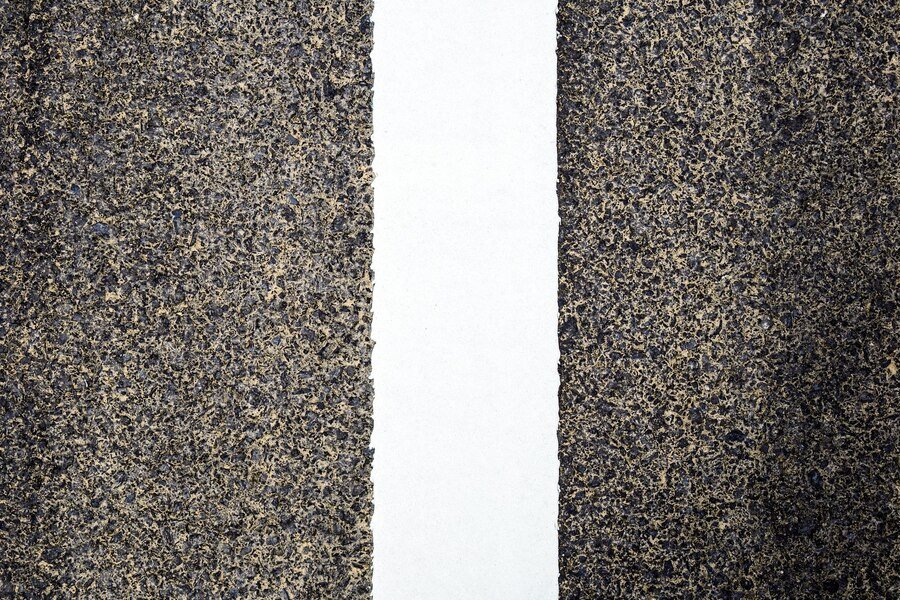
For scale model enthusiasts, creating that perfect, lifelike look often comes down to the tiniest details. Whether you’re working on a diorama or showcasing your custom car collection, nailing the right textures is essential—especially when replicating realistic asphalt for 1/64 scale models. That’s where sandpaper comes into play.
Curious about what grit sandpaper looks like 1/64 scale asphalt, and how to use it for your projects? This guide will walk you through everything, from selecting the right grit to achieving professional-level results.
Why Surface Preparation Matters in Scale Modeling
When building scale models, the details are what make your pieces stand out. The backdrop or base—often overlooked—sets the stage for the whole project. A poorly executed surface can detract from the realism of your scene, no matter how detailed the rest of your model is.
That’s why asphalt textures, in particular, require extra care. Getting the right graininess to mimic real-world asphalt at a scale as small as 1/64 is no small feat, but the right tools and techniques can make all the difference. Using grit sandpaper is one of the most effective and economical ways to achieve this look.
What Is Grit Sandpaper and Why Use It for Asphalt Textures?
Sandpaper grit refers to the coarseness of the abrasive material on the surface. Higher-grit sandpaper is smoother, while lower-grit sandpaper is rougher. To mimic realistic asphalt textures for 1/64 scale modeling, you need sandpaper that falls within a specific grit range to replicate the uneven and slightly grainy texture.
For most 1/64 scale asphalt projects, grit sandpaper ranging between 220 and 400 delivers the most accurate texture. Here’s why grit sandpaper works so well for this purpose:
- Realistic Scale Texture: The grain of the sandpaper replicates the small, irregular surface of asphalt at miniature scales.
- Cost-Effective: Sandpaper is inexpensive and readily available at hardware and art supply stores.
- Customizable Results: You can adjust the appearance by layering other materials like paint and sealant.
Tools of the Trade
Before you begin, make sure you have the tools and materials to bring your asphalt masterpiece to life!
Materials Needed
- Sandpaper (220 to 400 grit) – For achieving the desired asphalt texture.
- Foam Board or MDF Board – Perfect for serving as the base surface.
- Adhesive Spray or Tacky Glue – To firmly attach the sandpaper to your base.
- Black and Gray Acrylic Paint – For painting the asphalt.
- Matte Finish Sealant – To set and protect your final layer.
- Craft Knife or Scissors – To trim the sandpaper to fit your diorama or baseboard.
- Dry Brush or Sponge – For adding wear and tear effects like cracks or scuffs.
- Measuring Tools (Ruler/Scale) – For professional precision when cutting and applying materials.
Where to Source Sandpaper
Sandpaper can be purchased at most hardware stores, craft shops, or online marketplaces such as Amazon. Look for sandpaper labeled “fine” or medium grit ranges (often 220/320/400) for the best results.

Step-by-Step Guide to Creating 1/64 Scale Asphalt with Sandpaper
Follow these steps to transform plain sandpaper into a realistic asphalt surface for your 1/64 scale models.
Step 1: Cut Your Base
Choose your base material (foam board or MDF) and measure it according to the dimensions of your diorama or scale model display. Trim the sandpaper so it fits perfectly over the base.
Step 2: Attach the Sandpaper
Using your adhesive spray or tacky glue, evenly coat the back of the sandpaper. Carefully press it onto the base, ensuring there are no air bubbles or wrinkles. Allow time for it to dry completely.
Step 3: Paint the Surface
Mix black and gray acrylic paints to achieve the desired asphalt hue. Most real asphalt contains subtle variations in tone, so brush or sponge on the paint unevenly to replicate this.
Step 4: Add Detail
To enhance realism, use a dry brush technique to add lighter streaks with gray or white paint. You can also carve faint cracks or lines into the sandpaper to mimic weathered pavement.
Step 5: Seal Your Work
Once the paint has dried, apply a matte finish sealant to protect the surface and dull any unnatural gloss. This step adds to the final realistic look.
Tips for Consistent Results and Common Pitfalls to Avoid
No project is perfect on the first try, but these tips will help you achieve consistent results while sidestepping common mistakes.
Pro Tips
- Experiment with Different Grits: Start with 320 grit, then layer with 220 grit for a varied texture.
- Mock-Up First: Create a small test sample before finalizing it on your base.
- Layer Paint Wisely: Too much paint can obscure the texture. Use light layers and build gradually.
- Don’t Overdo Lines: Carve cracks sparingly—less is often more.
Common Mistakes to Avoid
- Over-saturation of Paint: Too much paint makes the surface lose its texture.
- Skipping the Sealant: Unsealed surfaces are prone to wear and tear, ruining your hard work.
- Using the Wrong Grit Range: Anything above 400 grit will likely be too smooth to replicate asphalt well.
Examples of Realistic Asphalt on 1/64 Scale Models
Need some inspiration? Here are some examples of scale models that use sandpaper to achieve stunningly realistic asphalt surfaces:
- Urban Dioramas: Featuring sandpaper asphalt that convincingly mimics city streets with pedestrian crossings.
- Racing Scenes: Using darker 220-grit sandpaper painted with subtle skid marks for high-speed effects.
- Suburban Displays: Highlights softer tones and mid-grit textures for a weathered street effect.
Seeing these finished pieces in action emphasizes how details like asphalt texture can completely transform a diorama’s realism and impact.
Attention to Detail is the Key to Mastery
Scale modeling is as much about patience and precision as it is about creativity. Replicating something as simple as a stretch of asphalt might seem minor, but for true enthusiasts, it’s these small details that bring their scenes to life.

